Generate code from your Figma designs by importing designs to your Fusion Space with the Builder Figma plugin.
Go from Figma to code in just three steps:
- Export your Figma designs with the Builder Figma plugin.
- Paste your Figma design into a Fusion Space prompt, along with instructions for the AI.
- Once implemented, Create a pull request to your codebase.

To install the plugin:
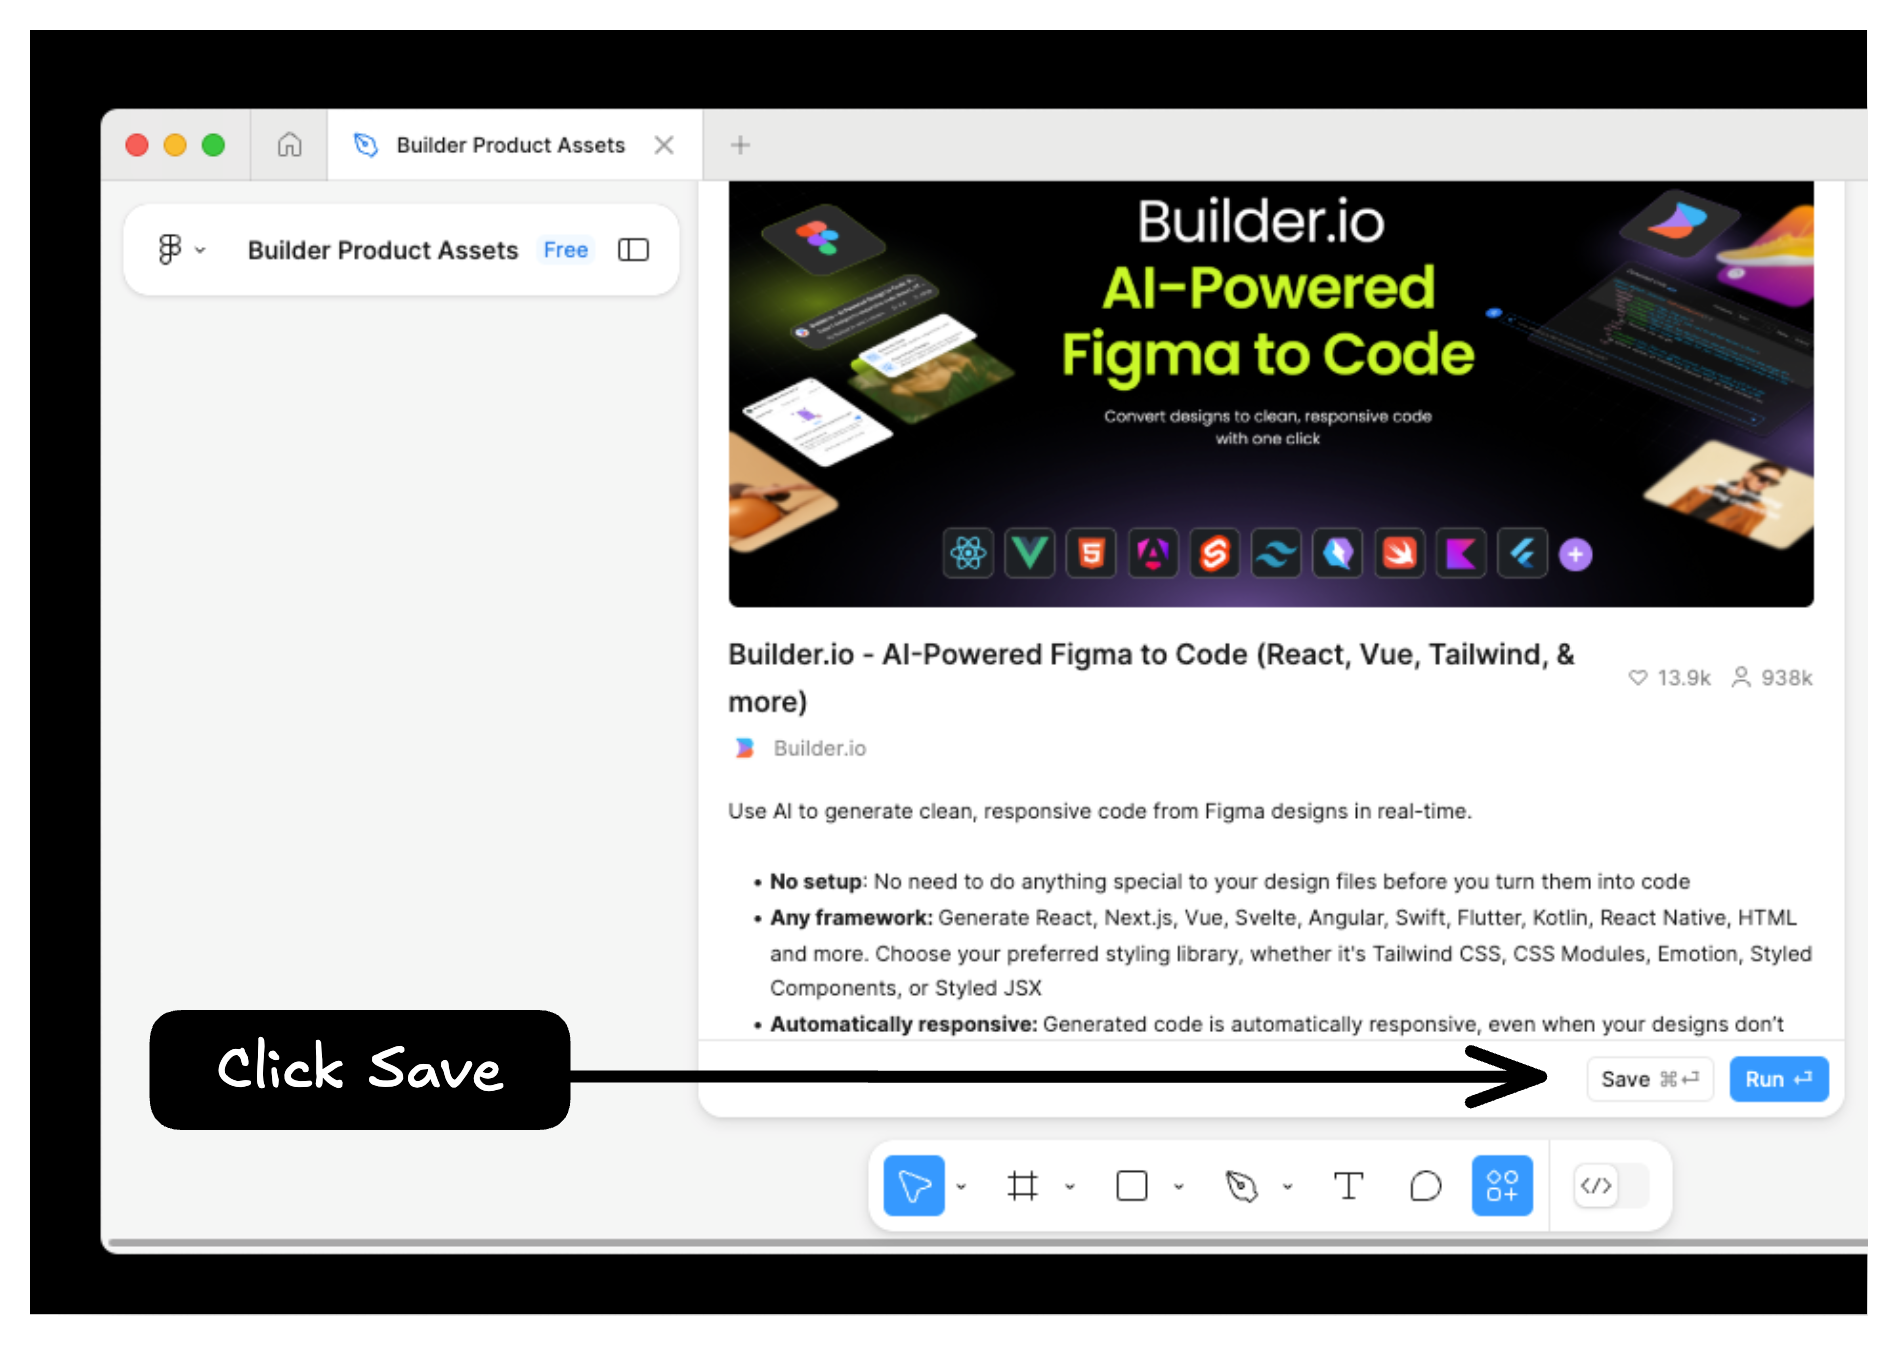
- Within Figma, select Plugins from your toolbar and then Manage plugins.
- Search for Builder.io within the Plugins & widgets tab.
- Choose the Builder.io plugin and then click the Save button.
Alternatively, visit the Builder Figma plugin page and install from there.

When exporting your design, there are two options: Smart Export and Classic Export.

Tip: For best results, use Figma's auto layout feature whenever providing a Figma design to Builder.
Use Builder's Design System Intelligence and Component indexing to improve code generation. Read through Design System Intelligence best practices as well for the best results.
Figma users on paid plans can annotate parts of their Figma designs. These annotations are included as part of the export to Builder, and can be used to provide instructions to Builder's AI when generating code.
For more details on annotations in Figma, visit Figma's documentation on adding measurements and annotating designs.
To submit changes and create a pull request (PR) to the connected repository:
- In the Visual Editor, make the required updates.
- Click Send PR from the toolbar.
- In the Pull requests tab, review the proposed changes.
- To request additional edits, comment in the pull request and tag @builderio-bot with specific instructions. The bot applies the changes to the same PR.
The following video demonstrates sending a PR and using the Builder agent to apply changes:
In addition to importing from Figma, you can also export from your Builder Project back into Figma. By doing so, update your designs using the right tool for the job.
Within a Builder Project:
- Switch to the Design tab.
- Select the layer you wish to export. You can interact directly with the page or use the Layers tab.
- On the top-right of the screen, click the three dot menu and select Export to Figma.
To import your design to Figma, you need the Builder Figma plugin.
After installing the plugin:
- Open the Builder Figma plugin within Figma.
- Click the Import tab.
- Click the field where it allows you to paste from your clipboard.
- Paste your exported design.
You may need to make some adjustments to your design to get it to appear correctly within Figma.
Learn more about the Builder Figma plugin and Connect git providers to Projects.


