Learn how to leverage both Figma and Builder to generate code for your designs, no matter the platform.
This tutorial demonstrates how to go between Figma and Builder designs. Edit designs within either Figma or Builder, and then generate code for those designs.

This tutorial begins within Fusion, shifts to Figma, and then returns back to Builder. However, you could instead begin with Figma.
Begin by choosing part of your Builder to redesign within Builder.
Within a Builder Project:
- Switch to the Design tab.
- Select the layer you wish to export. You can interact directly with the page or use the Layers tab.
- On the top-right of the screen, click the three dot menu and select Export to Figma.
Your layer has now been copied to your clipboard.
Use the Builder Figma plugin to import your design to Figma.
After installing the plugin:
- Open the Builder Figma plugin within Figma.
- Click the Import tab.
- Click the field where it allows you to paste from your clipboard.
- Paste your exported design.
You may need to make some adjustments to your design to get it to appear correctly within Figma.
Update your design within Figma as you would any other design.
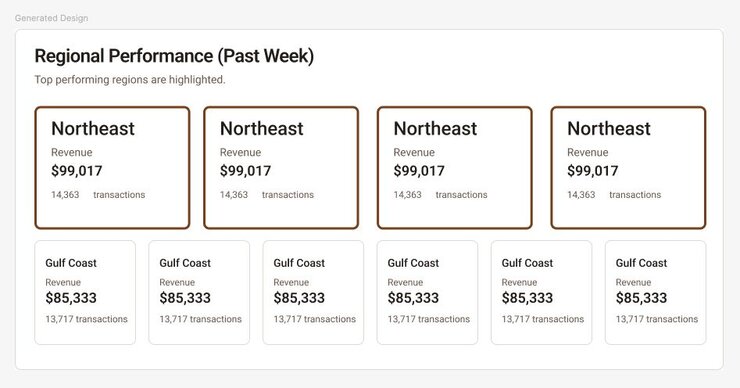
Keep in mind that you do not have to be precise with the data for your design. For example, in the image below the design has been changed, but the actual text within the design is just duplicated.

Figma users on paid plans can annotate parts of their Figma designs. These annotations are included as part of the export to Builder, and can be used to provide instructions to Builder's AI when generating code.
For more details on annotations in Figma, visit Figma's documentation on adding measurements and annotating designs.
To export your Figma design:
- Select a layer within your Figma design to export.
- Open the Builder Figma plugin.
- Click Smart Export.
Your Figma design is now added to your clipboard. For more details on exporting, visit Figma to Projects.
With your Figma design added to your clipboard, create a new prompt to implement your design:
- Within your Builder Project, go to the Design tab.
- Select the layer you wish to replace.
- Next, go to the Generate tab.
- Provide a prompt to the AI describing the change. Within the prompt, paste your Figma design.
- Work with Builder AI to implement the design.
Depending on how your design is structured within Figma and how you write your prompt, additional prompts may be needed to perfect the design transition.
Once your design is implemented, you can Share the project with other members of your team or Send a PR to your team's version control system.
For more details on the plugin, visit Builder Figma plugin. For more details on exporting from Figma, visit Figma to Projects.


