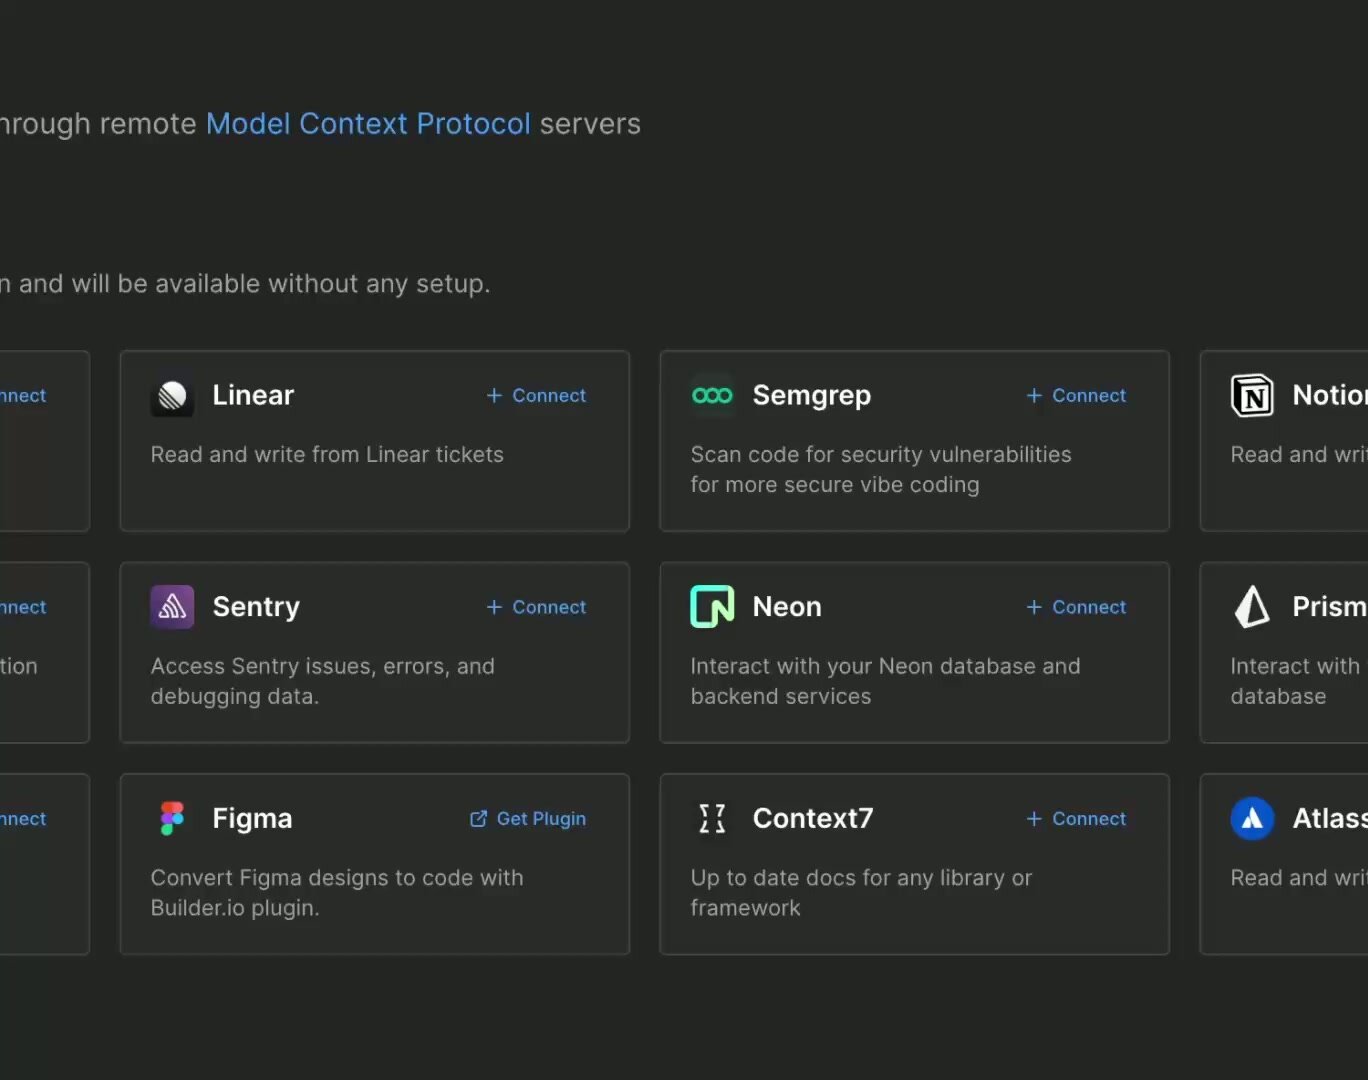
Builder can leverage multiple external tools when designing your Project with Fusion. On this page, learn to connect and utilize Built-in integrations.
- Connect to built-in integrations through your MCP servers page.
- By providing a connection to an external service, Builder's AI can recognize and access data internal to that service.
Zapier is a web-based service that allows users to automate tasks between different web applications. With Zapier, connect to hundreds of different applications through a single interface.
- Go to MCP servers.
- On the Zapier tile, click + Connect.
- If prompted, sign in to your Zapier account.
- Search through Zapier's list and find an application to connect to.
- Choose from a list of actions associated with that application.
- Click the button to Add the tools associated with that application.
- Click Save Connection.
The video below demonstrates connect to Google Calendar through Zapier.
This next video shows using a Zapier connection to the Weather by Zapier application to add weather data to an existing web application.
For guided instruction, watch Builder's very own Steve Sewell give a demonstration.
0:00 What's up, team? I want to show you something really cool. You know how we get asked sometimes, like, oh, can I connect to my Google Docs, can I connect to my whatever, can I connect to my Airtable, like, whatever?
0:08 Um, we've always been like, yeah, you could, you know, hopefully we'll get an MCP server, or maybe you can, you know, uh, build your own, or whatever, oh, yeah, Google Docs has an MCP server, but it has to be a remote one for us to work with it, blah, blah, blah.
0:20 Well now, I looked up the Zapier MCP server, which is really unique and interesting, which literally means you can connect to anything.
0:28 Google Docs, Confluence, Jira Tickets, like, literally anything. Like, I'm thinking we might even want to change this UI to be like, also, this is everything.
0:34 This is an everything MCP, every single service ever, um, you can connect through here. Let me show you how it works.
0:40 Choose Zapier, and it actually loads up this little UI. In the UI, you can connect to a bajillion and app search for them, so like Google Docs.
0:48 Because it's right there, let's say Neon Database, I basically have, uhm, or whatever, Neon CRM, blah, blah, blah, however you want.
0:54 Uhm, but I can add this, like, weather one. Oh, Builder, haha, there's a Builder.io thing in there. I think the Zapier team added it even on our behalf.
1:02 Anyway, uhm, so I've already configured this, so I already added, like, the getCurrentWeather. You can add as much as you want.
1:08 You can go to the tools list. You basically can just add as many services and tools as you want. It becomes, like, a super-empty list.
1:12 On the TCP server, all these become available to the AI, and you can save it. Uhm, you can see I'm connected, like usual.
1:19 Disconnect the same way. And then, let's go prompt something. And now, over in the chat, uhm, ignore, I broke the Zap, but whatever, it doesn't matter.
1:28 Uhm, in the chat, I just said, what is the weather, and ba-bam, Zapier weather, it's running the weather tool, and it gave me the weather.
1:36 It's cool. Connected to literally anything. This is pretty awesome. So now, again, when any prospect says, can you connect to X, the answer is always yes.
1:43 It's really easy to add a connection to Zapier. And Zapier's pricing applies, but Zapier's pricing is very much like, if I understand it in detail, you know, it's meant to be like these constant recurring background automations.
1:53 So, yeah, you probably use lots of Zaps, or whatever, instances, or, I forget what they call it, and just day-to-day use here.
2:00 Like, I think most self-serve users are going to be totally fine on the free tiers. You're not going to, unless you're hitting MCP hard, then sign up for a simple plan.
2:07 It's not that expensive. Um, so really super cool. And Zapier, of course, handles all the authentication and blah, blah, blah, all that stuff.
2:13 And you can customize it deeply as well, um, which is really, really, uh, neat. You can trigger your own workflows combining your own stuff.
2:20 So it's a lot more advanced than just get the basics. You can do a lot more advanced things, but anyway.
2:24 Really cool.
Netlify is a powerful platform for deploying fast, reliable web projects. Once connected, Builder’s AI can deploy your Fusion project to Netlify with a straightforward prompt.
- Go to MCP servers.
- On the Netlify tile, click + Connect.
- In the modal that opens, click the Connect To Netlify button.
- When Builder requests access, click the Authorize button.
- Tell the AI to deploy to Netlify.
The video below shows connecting and deploying to Netlify.
This next video shows adding Netlify forms to a Contact Us page by prompting the AI:
Linear is a purpose-built tool for planning and building products. Once you've connected to Linear, share a Linear ticket URL with Builder AI to have it attempt to solve that ticket.
- Go to MCP servers.
- On the Linear tile, click + Connect.
- In the modal that opens, click the Connect To Linear button.
- When Builder requests access, click the Approve button.
In the video below, a Linear ticket is copied and shared within a project. That ticket's details are read by the AI, and a design change is implemented changing the Full Name field to two separate fields. A pull request is then created from within Builder.
Prisma is a Postgres foundation that allows you to spin up a production-ready Postgres database in seconds. Once you've connected Prisma's MCP server to Builder, Fusion will be able to work with your database to structure queries and retrieve data.
To connect Prisma to Builder:
- Go to MCP servers.
- On the Prisma tile, click + Connect.
- In the modal that opens, click the Connect To Prisma button.
- Login to the service and, when Builder requests access, click the Authorize button.
The video below shows connecting the Prisma MCP within a Fusion Space.
To gain access to your Prisma database, you need a connection string. To get a connection string from your Prisma project:
- Within a Prisma Project, click the Connect button under the Connect to your database heading.
- Click the Generate database credentials button on the next page.
- Click the Copy button next to the generated environment variable.
- Return to Fusion and click the three dots above a Project and then open your Project's Settings.
- Click the Add Environment Variable button.
- Paste your database credentials within the Key field.
The environment variable DATABASE_URL
must be referenced within your codebase in order for database features to work. You can manually integrate this functionality or ask Fusion to do it for you.
Neon is a serverless database platform designed to help you build reliable and scalable applications faster. Once you've connected to Neon, Builder AI can connect to your database schema to design new features based on your stored data.
Begin by connecting to Neon. On your MCP servers page, click the + Connect button next to Neon. You will then be prompted to connect to your Neon organization.
- Go to MCP servers.
- On the Neon tile, click + Connect.
- In the modal that opens, click the Connect To Neon button.
- When Builder requests access, click the Approve button followed by the Authorize button.
Then, in your Builder Project, describe to the AI what you'd like changed. Although the AI might be able to figure out what you want based on the context, it is best to provide any relevant IDs, schemas, or table names if possible.
In the video below, the current implementation of an Employees tab uses mock data. Builder's AI is then asked to implement a server-side route that returns paginated employee data served from a Neon database.
Supabase is the Postgres development platform. Once you've connected to Supabase, Builder AI can connect to your database schema to design new features based on your stored data.
Begin by connecting to Supabase. On your MCP servers page, click the + Connect button next to Supabase. You will then be prompted to connect to your Supabase organization.
- Go to MCP servers.
- On the Neon tile, click + Connect.
- In the modal that opens, click the Connect To Supabase button.
- When Builder requests access, click the Approve button followed by the Authorize button.
Then, in your Builder Project, describe to the AI what you'd like changed. Although the AI might be able to figure out what you want based on the context, it is best to provide any relevant IDs, schemas, or table names if possible.
In the video below, the current implementation of a Dog Breed Explore uses mock data. Builder's AI is then asked to implement a server-side route that returns actual data served from a Supabase database.
Read more about Fusion and MCP servers, or learn about other ways to Add context to projects.