in beta
Important: This import is still in beta. For best results, you must prepare your design file before exporting and do some cleanup afterward.
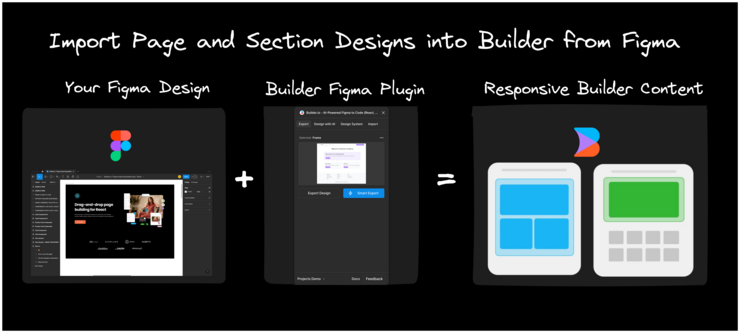
Import Figma designs into Builder to save time and effort.
Learn how to install the plugin, prepare your design, export, import, and adjust in Builder. Plus, get helpful tips and videos for optimizing your process.
Importing your Figma designs into Builder involves:
- Installing the Builder plugin in your Figma account.
- Preparing your Figma file.
- Exporting from Figma.
- Importing into Builder.
- Checking and tweaking your import in Builder.
For details on each part of the process, refer to the following videos and written instructions in this document.
To support different learning styles, this document covers the process for using your Figma designs in Builder in writing as well as in two videos.
Each video is self-contained with one being shorter and the other being a webinar led by Builder team members.
The following video provides a quick demonstration and covers the contents of the current document:
This next video offers an in-depth webinar demonstrating this feature and covers everything (and more) in this document:
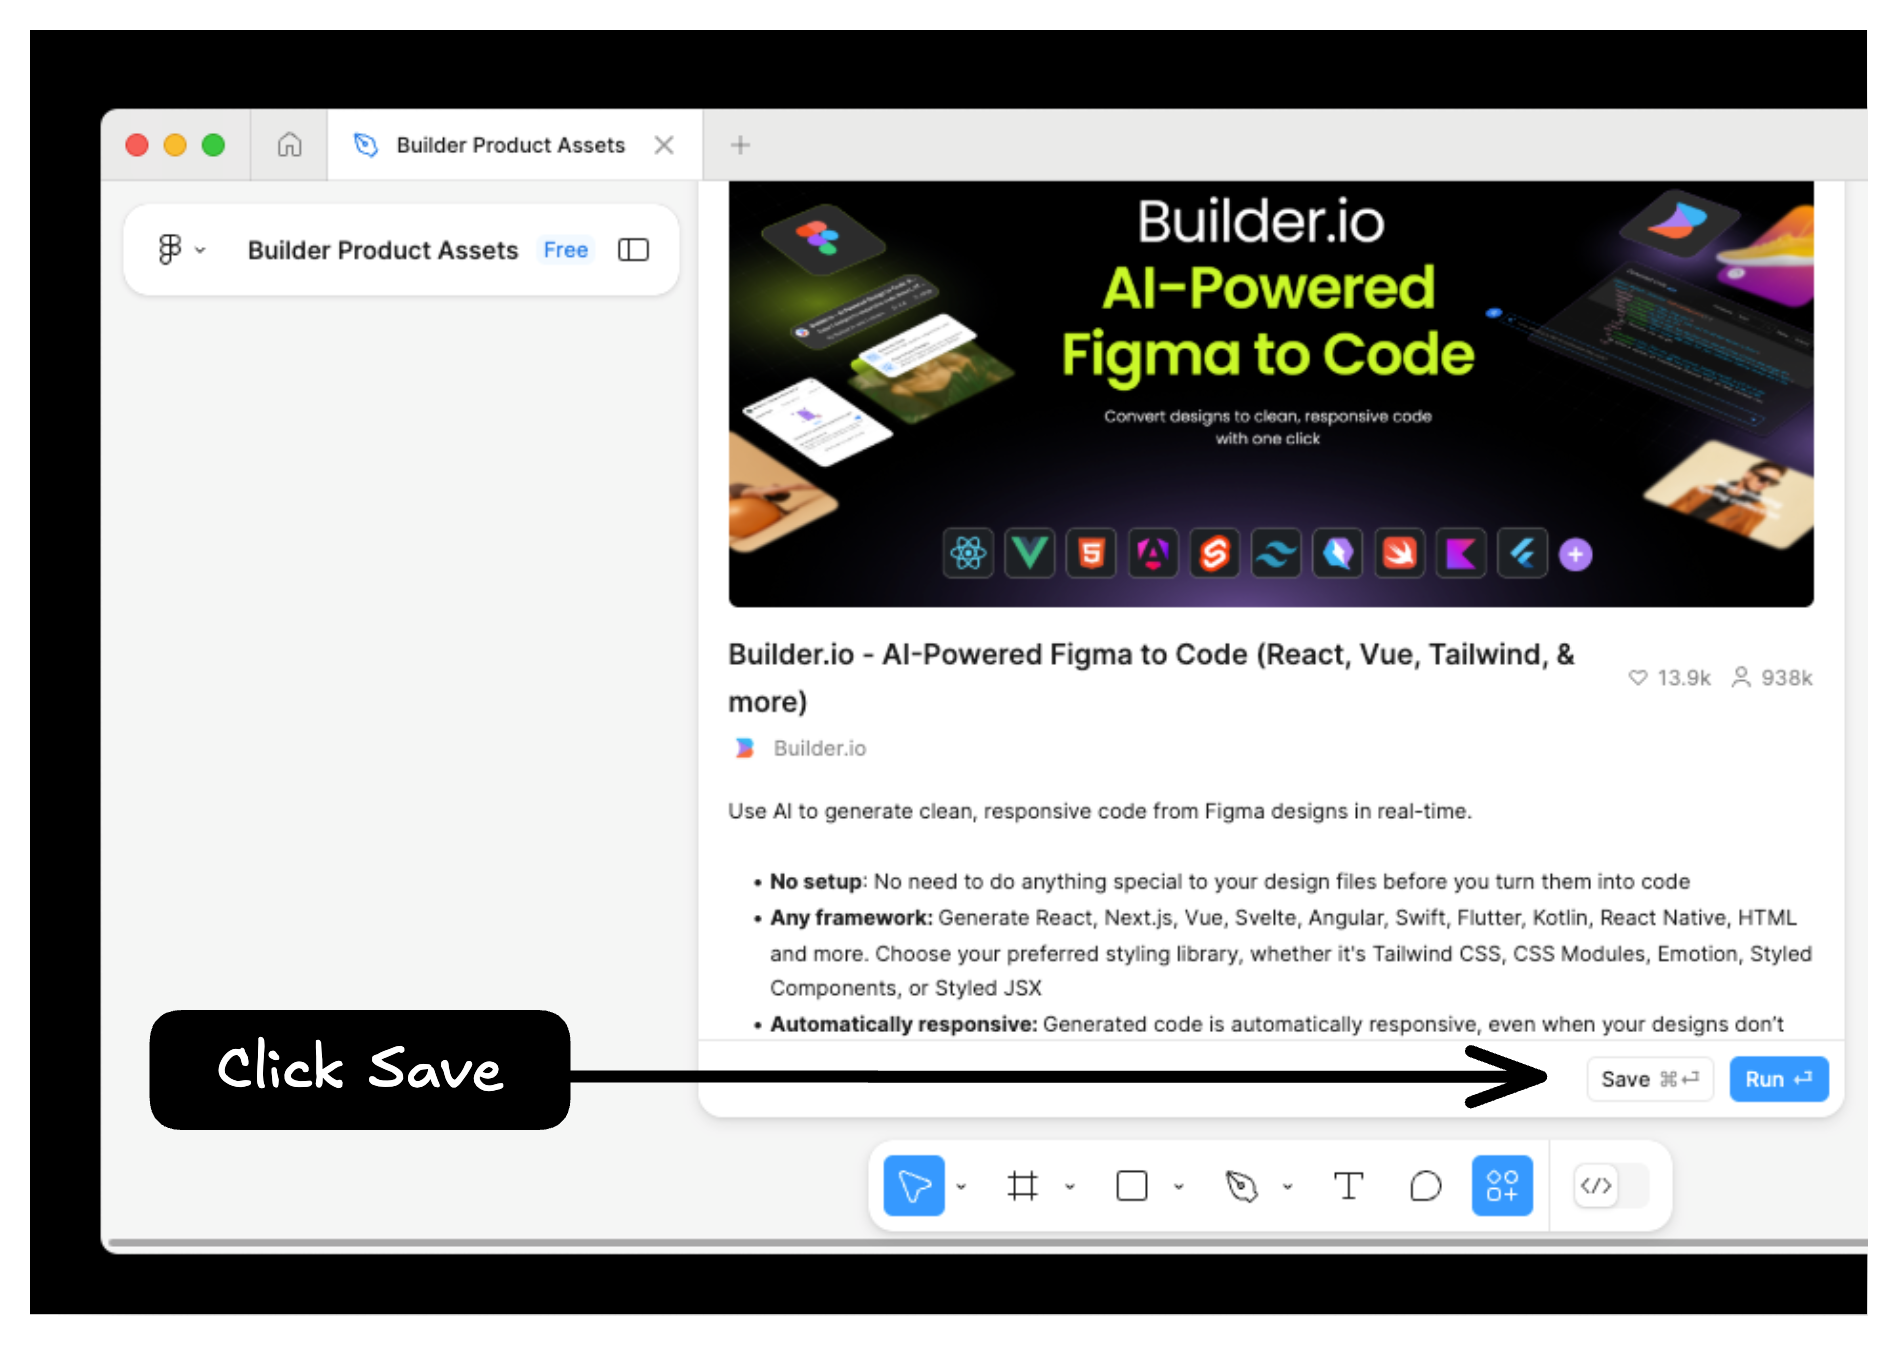
Install the Figma to HTML plugin into your Figma account from the Builder Figma page.
Make a copy of your design. You'll be making changes to the file, such as rasterizing and detaching instances, and you might find it helpful to maintain your original design.
- In the Figma top navigation menu, click the dropdown next to your file name and select Duplicate.
- Keep this copy in case you need to return to the original state.
Preparing layers for export from Figma involves:
- Applying auto layout to layers.
- Rasterizing images.
- Adding rasterized images to a layout that has auto layout enabled.
- Making sure all layers, including those nested within other layers, are properly prepared for import.
Auto layout organizes the frame contents into either a row or column layout. Auto layout frames in Figma are analogous to applying a Child Layout of Stack or Row in the Builder Visual Editor.
Tip: Auto layout is a required feature for all layers that are to be imported into Builder.
To convert a layer to use auto layout in Figma:
- Select the layer.
- Click the + button next to Auto layout.
The following video shows how to apply auto layout:
Check that all child frames use auto layout and add frames if necessary. For more information, see Figma's article, Explore auto layout properties.
If the parent frame you are trying to import does not already use auto layout, then you may have to add additional frames inside to group content into rows and columns.
Auto layout may not be suitable for some layer designs due to complexity. For complex layer designs or vectors, rasterizing images first can help to improve the chances of optimal rendering.
Additionally, be sure to rasterize any vectors, grouping any small components if possible.
To optimize layer designs for import, consider the following tips:
- Flattening layers may not be sufficient to prepare graphics for import, as they may contain vectors or groups that do not import well. In such cases, rasterizing these elements might be necessary.
- Avoid using unnecessary frames or groups around graphics.
If complex designs need more help than just Auto layout, try rasterizing them first. To rasterize in Figma:
- Select the area of your design you want to rasterize.
- Go to File > Quick Action.
- In the Quick action search bar (keyboard shortcut:
CMD + /
), choose Rasterize selection.
The following video shows how to rasterize a selection:
Tip: You can also use Figma's rasterize selection command on your vector. If the output is too low-resolution, try the Flatten Selection to Bitmap plugin.
Make sure you've done these things first:
- Grouped all the elements you want to keep together, such as the elements in each column.
- Applied auto layout to all elements, including groupings and all nested layers, before exporting. Errors may indicate a missed auto layout.
To export from Figma:
- Open the plugin in Figma using the keyboard shortcut
CMD + /
. This opens the Figma search. - Search for "HTML" and select the Figma to HTML, CSS, React plugin.
- Choose Download Figma as JSON. Note the location where the file is saved.
Tip: Rather than downloading as JSON you can instead choose GENERATE CODE. This launches a Builder fiddle with your content, which you can copy and paste into another Builder document or save as a template.
In the Builder Visual Editor:
- Go to the Insert tab and expand the Import options section.
- Click Figma.
- Choose Upload Figma JSON and select the JSON file you just downloaded.
- Place the Figma icon containing your new layout onto your Builder page.
- Adjust your layout in Builder as needed.
The following video shows this process:
When importing, keep these tips in mind:
- Importing: If you experience difficulty importing, import smaller portions of the page; such as sections, buttons, or even a single line of text.
- Auto layout: Ensure your design uses auto layout to avoid import errors.
- Flexible options: Maximize flexibility by adding non-rasterized versions of your images and sections to Builder, as well as your original Figma file.
While it is possible that not all details of your design will be imported perfectly, using the plugin can still provide a significant advantage in getting started.
After importing your design into Builder, you might need to make final adjustments to sizes, paddings, widths, and styles within Builder.
Figma and Builder together are a powerful tool set. Learn even more:
- Compliment your skillset and learn how to Generate Figma Designs with AI.
- Learn about responsive design in Intro to Responsive Design.
Looking to hire a third party to help with your project?
Submit a project request and our partnerships team will reach out to connect you with an Expert from our partner ecosystem.