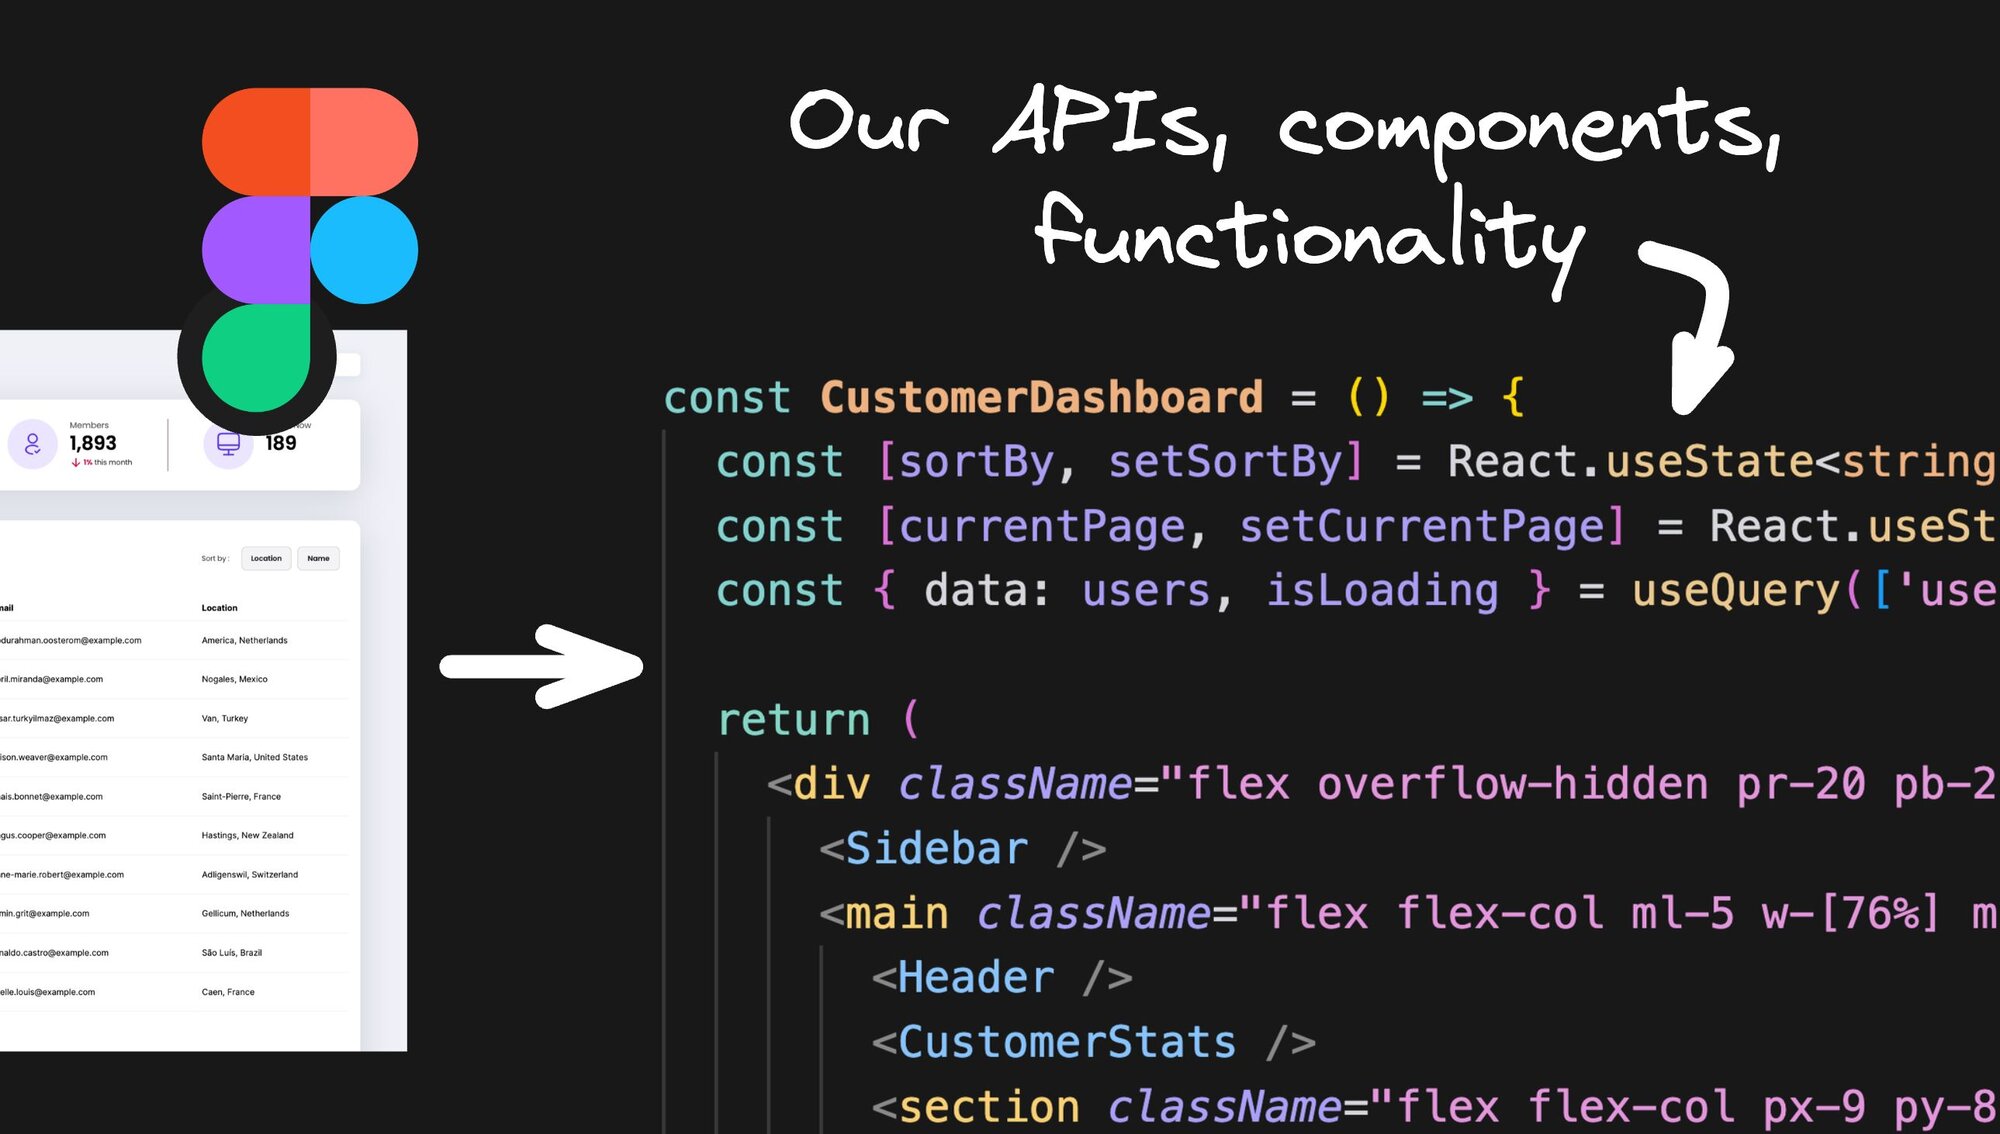
I just turned a Figma design into a working dashboard app with real APIs, data, and pagination in less than five minutes.
And the best part is: I can export my creation as clean code across multiple files, including reusing your existing components in your codebase and/or design system.
React, Vue, Tailwind, SwiftUI, and many more outputs are supported, and everything is customizable.
Let me show you how to do it.
First, in Figma, launch the Builder.io Figma plugin in a design of your choice, for instance with the dashboard design I used.
Note: If you use the dashboard design file I did, you will likely have to duplicate it to your drafts first so you have full access:
Note: This plugin works the same in Dev mode too.
Once you have the plugin launched, select the Dashboard frame and click the Export to Code button, and you'll be launched into Builder.
If you don’t have a Builder.io account yet, you will be asked to sign up, which only takes 2 quick steps.
Note: If you use the same Dashboard design as I did, you will see a “Low auto layout usage” warning. Using auto layout for exported designs is a best practice, and without it your results might vary. In this case, this design imports pretty well without auto layout, so we can ignore it.
Now that we’re in Builder, your design has been converted into code, and what shows in the Builder canvas is a preview of the resulting code.
This is cool and all, but it's a lot cooler to make this code actually do something!
In order to be able to do something useful, we’ll want to give the AI some context about us first.
For example, if you want to use data, where should the data come from? Is it a public resource or your own private API? What inputs and outputs can this API take?
Note: The Builder Visual Editor AI chat released with Visual Copilot 2.0 is currently in a rolling beta — meaning some users will have access now, and some will come soon. We add new users each week — so if you don’t have access just yet, request to be notified when your accent gets access
For my dashboard, I used these instructions. Feel free to copy and use them, including the API used:
We have an API that can list our users that works like:

https://user-api.builder-io.workers.dev/
https://user-api.builder-io.workers.dev/?page=2
https://user-api.builder-io.workers.dev/?sortBy=name.first
https://user-api.builder-io.workers.dev/?sortBy=location.city

the output looks like:

<output>
{
  "page": 1,
  "perPage": 10,
  "total": 100,
  "data": [
    {
      "gender": "female",
      "name": { "title": "Mrs", "first": "Aada", "last": "Ojala" },
      "location": {
        "street": { "number": 9896, "name": "Pyynikintie" },
        "city": "Loviisa",
        "state": "Tavastia Proper",
        "country": "Finland",
      },
      "picture": {
        "large": "https://randomuser.me/api/portraits/women/51.jpg",
        "medium": "https://randomuser.me/api/portraits/med/women/51.jpg",
        "thumbnail": "https://randomuser.me/api/portraits/thumb/women/51.jpg"
      },
    },
    ...
  ]
}
<output>

when adding tables of users include their images too. also make tables horizontal scroll on mobile

for loading states, give things a nice spinner
Notice that at the bottom I included a couple extra tips. For instance, I want the AI to generate tables with images in them, to make them horizontally scrollable on mobile, and be sure to use a nice loading spinner.
Instructions are infinitely customizable, so experiment with them! Use trial and error to find out what works best for you. With the right approach, they are incredibly powerful.
Note that you can also instruct the AI to use well known APIs without much guidance (like specific input/output examples). Some other fun ones to use and try:
- catfact.ninja: returns random cat facts
- dog.ceo: random dog images by breed
- pokeapi.co: Pokemon data (stats, moves, types)
- jservice.io: trivia questions from the Jeopardy! game show
- Open Notify: space data like the current location of the ISS and people in space.
- RandomUser.me: random user data (names, photos, addresses)
- Advice Slip API: random pieces of advice (https://api.adviceslip.com)
- Universities API: information on universities worldwide (http://universities.hipolabs.com/)
- Open Meteo: weather forecasts, historical weather, and current weather data
Can't find a public API that interests you there? Just try asking Visual Copilot, and it can recommend an API for your use case too.
In the case of our design, it wasn’t even complete!
But Builder can handle this as well — we can use AI to generate or update any part of the design, completely matching the existing aesthetic of the design, including components, design tokens, and so on.
In our case, you can click the Users table goes here text and enter the prompt:
replace this with a table of our usersWe have a nice table, but let's start making some visual modifications. Builder.io is a full Visual Development Platform, so we can continue to select parts of the code and edit it visually.
For instance, we can go to the Style tab and change the width to Fill, and even drag to change the top margin size as well.
Play around all you like to get things pixel perfect.
Now, we have a table connected to real data. But, how do we even know? For all we know, this was hard generated into the design.
So let's spice things up and add some real interactivity.
In our design, we have a couple buttons to choose different table sorts. Let’s click on that and use my favorite prompt:
make these buttons workYes, just from the context of the design and the API info we gave the system, Visual Copilot in this case can infer what these buttons should do, and hook up the functionality for us.
And voilà — we have working sort buttons!
You can try it out via the quick preview mode, for instance by hitting ⌘ + \ on mac, or Ctrl + \ on PC/Linux (yes, I mentioned Linux for all one of you).
In preview mode, you can click around your app just like a typical user. Try out your awesome new API-driven dashboard table!
Let’s now implement pagination. We’ll follow similar steps as before. Let's click the pagination buttons and use my favorite prompt:
make these buttons workDisclaimer: A super vague prompt like that is not the general best practice, I just think it's fun that it works in this case.
Generally, be descriptive about what you want, and if the AI doesn’t get it right on the first time, give it feedback and have it try again. Working with AI is a trial and error process to get good results.
When you're happy with the functionality, let’s grab the code.
First, switch to Develop mode to show all of your code generation options.
You can pick between a variety of code frameworks, such as React, Vue, Angular, Svelte, React Native, SwiftUI, HTML, Qwik, Solidjs, Jetpack Compose, Flutter, and more.
For styling frameworks, built in support includes Tailwind, CSS, CSS modules, Styled Components, Emotion, and you can even add anything else not listed here using custom instructions.
You can also add completely custom instructions in natural language for any additional preferences you have — including frameworks, styling frameworks, testing frameworks not mentioned previously, as well as anything completely custom — like stylistic preferences, libraries you use, or even samples of your existing code so your code can be reused or the AI can match your coding style.
In my case, I love React Query, so I have this custom instruction saved for all code generations so that React Query is always used for data fetching:
use @tanstack/react-query for all data fetchingWhen we’ve got things setup the way we like, we can just click Generate Code to get our code.
Keep in mind you can always change code after the fact too — by chatting to make modifications, as well as by updating your custom instructions and generating again.
This process can take trial and error to get exactly right—- but is worth it to make sure the system is outputting code just like you and your team would write.
And remember, the AI can respond to nearly any kind of feedback. If there is anything that makes you say “no I would’ve written this differently”, just tell the system.
Now what good is code if it's not in your codebase. I got u fam don’t doubt me so much.
- Click Sync Code.
- Copy the provided command.
- Run it at the root of your project.
Yes, yes I know I need to update Cursor.
And there you have it — the dashboard code, with functionality, tests, and reusable components is yours!
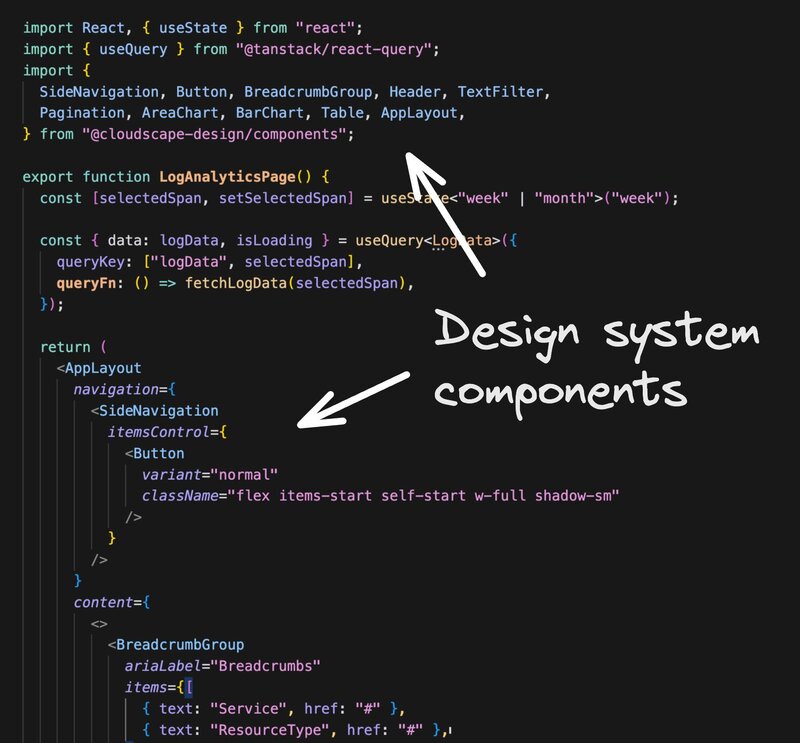
This is great and all — but what if you have a design system of components already?
Ideally, we’d want to reuse those components when importing and generating, including any other components local to our codebase that we typically build with.
For instance, here is an example of code I generated using the Cloudscape design system:

Fear not, Builder supports this as well. But that is a topic for another post, but you can visit the docs in the meantime and try it out yourself.
Try this out on more designs, code, and APIs!
Remember: AI is a tool. It doesn’t replace engineering work, but when used right it sure as heck an accelerate it. AI will be good at some things, and not good at others. The trick is to experiment — use trial and error and find what works great for you and it can be your new secret superpower.
If you’d like more use cases and even more ideas on what you can accomplish with Visual Copilot, read Introducing Visual Copilot 2.0: Design to Interactive.
Give it a try — I can’t wait to see what you build!
- Figma plugin for Builder.io
- Dashboard Figma design
- Get notified when you get full Visual Copilot 2.0 access
- Get a demo from the Builder.io team
Useful docs
Builder.io visually edits code, uses your design system, and sends pull requests.
Builder.io visually edits code, uses your design system, and sends pull requests.


 Connect a Repo


