Recreating Apple-style 3D scroll animations in Three.js and WebGL
How does Apple make those 3D objects glide and rotate as you scroll?
They actually use a pretty awful trick where they load 100s of images and flip through them as you scroll, which explains why the scrolling is so jittery. Yuck.
Let’s build something similar that listens to scroll but manipulates actual 3D objects super smoothly as you go.
It’s actually a lot easier than you’d think.
I will show how I rebuilt this quickly with AI, how the code works, and how you can create the same effect by hand.
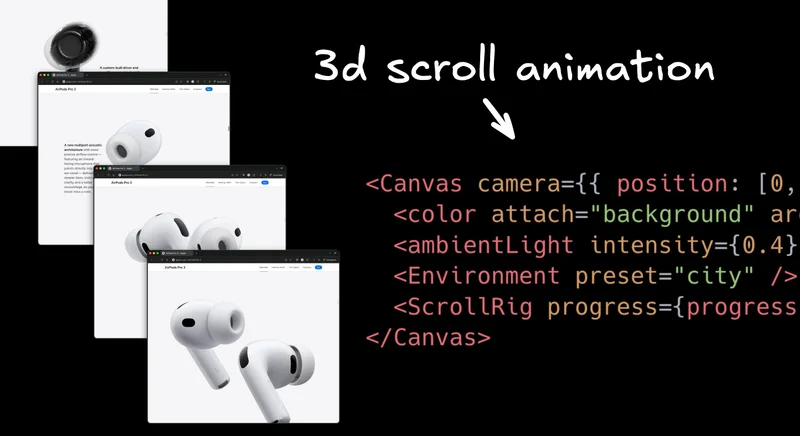
3D scenes require many precise values. Camera distance, model scale, rotation easing. Typing that by hand is tedious. This is just one small example:
This is something LLMs are great at helping us with, so we don’t have to blindly guess and check so slowly. But, words alone can be ambiguous for motion, so how can we get a pretty good starting point from AI for nuanced scroll-based motion?
The trick I use is I give the AI a simple storyboard image with key states. Even just a hand drawn images like I used removes guesswork and lets the agent generate the scaffolding quickly.

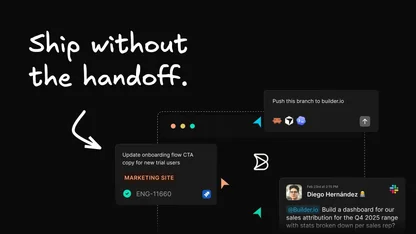
I did this using Builder.io, where you can connect any repository of yours or start from scratch, open the visual editor, and visually prompt away.
I grabbed a free iMac GLTF from Sketchfab, attached it, and let the AI install dependencies and set up the scene.
The prompt I used was:
The first run got me pretty close but was zoomed in too far. I gave some feedback in a couple prompts to get sizing and spacing right, and after some iterations, things were looking solid. Remember to always give feedback to any AI agent, Builder.io or otherwise, to get the best results.
And if words aren’t cutting it, you can use design mode in Builder.io to have a full Figma-grade editor to get the details correct.
And that’s the basics. Using this technique of loading a 3D modal and transforming it on scroll unlocks a huge variety of cool things you can do.
Everything from moving objects, to panning through entire 3d worlds.
Now, let’s break down the code powering this so we can understand how it works.
The basic process is:
- Load a GLTF model and preload it.
- Track scroll progress between 0 and 1.
- Pass progress into a rig that updates rotation and position.
- Render with a black background, soft ambient light, and an HDRI environment for reflections.
We host the model on a CDN (I used builder.io/upload for this), then use DREI’s useGLTF to load it as a Three.js object. Preloading avoids a pop-in on the first frame.
Tips
- If the model is too large, lower model
scale - Keep textures compressed and meshes decimated for performance.
This hook normalizes scroll to a 0 to 1 range and updates on scroll and resize. This lets us rig up our animation based on scroll % later.
If your effect lives in a nested scroller, swap window.scrollY for the container’s scrollTop and scrollHeight.
The rig is a group that contains the model. On each frame we ease the rotation toward a target derived from progress. You can add position and scale for depth.
More things you can explore
- Move the camera for parallax, keep the object anchored.
- Animate material parameters like roughness or emissive for mood.
- Define waypoints at 0, 0.33, 0.66, 1 and interpolate between them.
We are going to mount a full screen WebGL scene, set a camera, fill the background, add a soft light, load an environment map, and render the rig that reacts to scroll.
Tuning tips
- Lower
ambientLightintensity or pick a darker environment if the scene looks washed out - Reduce material
envMapIntensityor choose a softer HDRI if reflections are too strong - Reduce model
scale, move the camera back on z, or slightly increasefovif the object clips the frame - Add a very low intensity
directionalLightfrom above and a bit to the side if the scene feels flat - Keep
fovmodest for a clean product look and avoid wide angle distortion - Test on slower devices and adjust lerp speed in
useFrameif motion feels jumpy
Personally, I hate writing boilerplate, so I let tools handle it. I prefer when the tool is visual so I can see what I am working on.
If you have ever wondered how AAA games create those immersive environments, you have probably used engines like Unreal Engine 4 and noticed you do not hand code every detail like you would in CSS. You get a full suite of visual tools so game designers can build interactions and scenes visually, and it all still connects to real code.

The web has been behind on that kind of tooling. That gap is a big reason a lot of web app UIs look boring. The good news is this is changing.
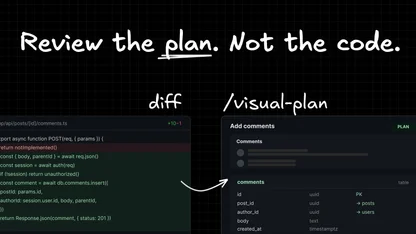
Platforms similar to Unreal, including Builder.io, give you a visual surface that works directly with your codebase. You can make precise edits, iterate quickly, and see results as you go. When you are ready, click Send PR to open a pull request.
Designers get a powerful canvas that goes far beyond classic design files. Developers get clean, well formatted pull requests that slot into the normal review flow.
If you want something moved or refactored, tag @builderio-bot in the PR and say what you want, like move this to a new file or extract this into a hook. The bot replies with updates, and you merge when you are happy.
In practice this has been a great workflow. It feels like the best parts of a game engine editor, with all of the powers of an LLM, but aimed at production web code.
Try out Builder.io for free and I’d love to hear your feedback.