Five things to try with the Supabase MCP server
Updated on October 21, 2025, with info about Supabase’s new remote MCP server.
The Supabase Model Context Protocol (MCP) server allows AI agents to connect directly to your web app backend, letting AI tools read and write data, manage tables, and build full-stack features with simple natural-language prompts.
It’s an easy way to power any app with dynamic functionality or maintain existing data without writing manual API calls or backend logic.
Let’s explore how it works, how to set it up, and some powerful features you can build with it.
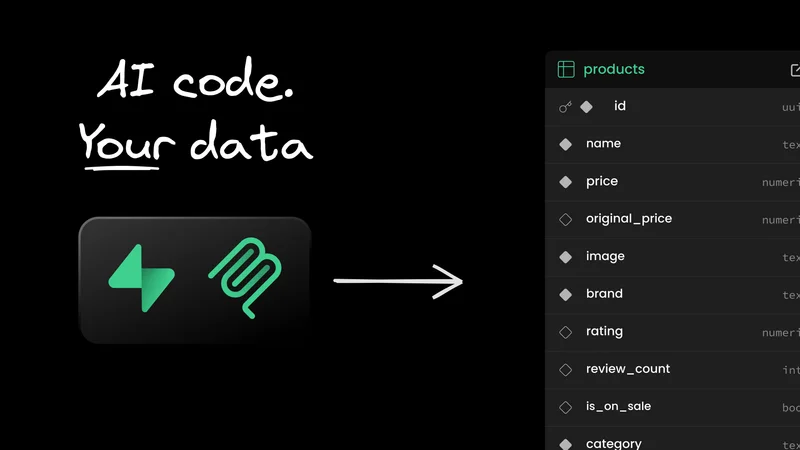
The Supabase MCP server acts as a secure bridge between AI tools and your backend, exposing your database schema, functions, and services in a structured way that agents can understand and interact with.

Instead of manually writing API calls or SDK logic, you can let AI tools use the MCP server to query, write to, or manage your Supabase data with natural language instructions, all while respecting your permissions and access rules.
While Supabase MCP is one of the first database-native implementations of the Model Context Protocol, it’s part of a growing ecosystem of MCP servers that connect AI tools with external services.
There’s no direct equivalent to Supabase MCP today, but understanding how it compares helps clarify where it fits.
Most MCP servers focus on developer workflows, exposing APIs from tools like GitHub, Linear, or Netlify so agents can create issues, deploy code, or manage builds. Supabase extends that idea to your data layer, letting AI reason about and interact with your database directly.
If your application relies on structured data, such as dashboards, user content, or internal tools, Supabase offers deep integration with Postgres. You also get features like Row Level Security, Edge Functions, and authentication, all accessible through natural language queries.
You might be thinking, Hasn’t Supabase MCP been around for a while?
Yes, that’s true, but the original implementation ran locally and came with some huge security caveats around credential scope and agent permissions.
In October 2025, Supabase released a remote, cloud-hosted MCP server that addresses those concerns by adding network-level access controls, proper key scoping, and safer defaults for production environments.
These improvements make the Supabase MCP remote server a much safer choice for production use cases. They also allow web-based AI agents like Fusion to establish a direct, secure connection to your Supabase backend.
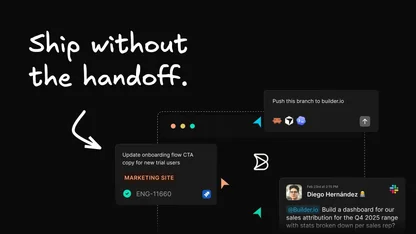
When paired with Builder’s Fusion, Supabase MCP lets you go from prompt to production without leaving the browser. It’s ideal for anyone who wants to quickly spin up full-stack features, whether you’re avoiding boilerplate or skipping manual code entirely.
You can visually edit components, request schema changes, or scaffold entire features, and the AI agent handles the backend wiring for you. Because Fusion understands the frontend and Supabase manages the backend, you get production-ready, data-driven features with just a few natural-language prompts.
Connecting your Supabase project to Fusion is a straightforward process.
For more details on how to get started with Fusion generally, see our Fusion docs.
First, create a Fusion account if you don’t already have one.
Then, navigate to the MCP servers page in your Builder.io space. Here you’ll find the Supabase MCP server listed in the “Built-in integrations” section.

Clicking the + Connect button will open a pop-up window where you can define what Supabase organization you’d like the MCP server to access.

With the server connected, the final step is to give your Fusion project access to your specific Supabase project. This helps the MCP server know which Supabase project to use by default, as well as giving your frontend access to all needed data.
Go to your project settings and add the following as environment variables:
- Your Supabase project URL (e.g.,
https://[project_id].supabase.co) - Your public Supabase
anonAPI key

You can also ask Fusion to create a new Supabase project for you or use an existing one, and then it will automatically add the variables to your Fusion project.
That's it. You're ready to go. Now you can open a new branch in Fusion and start giving the AI tasks. For example, you can use a prompt like this to have Fusion create a database table for you:
“Use the Supabase MCP to set up a new table named 'testimonials' with columns for id, author, and quote. Then, hook up my frontend.”
Fusion will handle the rest, installing the Supabase client and modifying your codebase to integrate with your data.
Now, we can dive into some use cases. You can do a whole lot with dynamic data, and these are just a few ideas.
Let's start with a classic task: adding a newsletter signup form to your site. It’s a common feature, but it usually involves several steps: creating the database table, writing the frontend UI, and setting up the backend endpoint.
With Fusion and Supabase connected, you can do it with a single prompt.
Fusion automatically creates the newsletter_signups table in your database, the form's UI, and the server-side logic to save submissions.
Now, a user can type in their email, click subscribe, and the data will appear directly in your Supabase database, with no hand coding required.
Taking a static design and making it dynamic is a core design/development task. Instead of manually coding the UI and then wiring it up to a database, you can give Fusion your Figma design and a data source, and it will build the fully functional component for you.
Start with your Figma design and a CSV file of customer quotes. Then, you can prompt the AI like this:
Fusion's AI interprets your design, creates and populates the Supabase table, and generates the production-ready code for a component that is an exact match of your design, now powered by live data.
Dashboards often require creating multiple database tables and then using a UI library to visualize the data. This example shows how Fusion can not only build the backend schema but also generate the frontend using your app's existing component library.
One of Fusion's most powerful features is that it instruments your existing code and design system, understanding your preferred components and styling conventions. So, if your app already uses a library like shadcn/ui or MUI, the AI will automatically use those same components to build new features, ensuring visual consistency.
For example:
Fusion interprets the request, creates the table schema in Supabase, and generates a dashboard that perfectly matches your site's look and feel by reusing your own UI components.
A common requirement for any application is a secure area for internal users or administrators. Instead of manually implementing authentication flows, you can have Fusion build an entire auth-protected section of your site (or an internal tool) using your Supabase project.
Fusion uses the Supabase MCP connection to scaffold the entire authentication flow, creating the login UI, handling redirects, managing user sessions, and securing the admin page.
You get a fully functional and secure admin area, built in a fraction of the time it would take to implement manually, wired to your existing Supabase authentication setup.
This final example is a bit meta: we'll use our AI agent to build a new AI feature on your site. The key is Supabase Edge Functions, which are server-side TypeScript functions that can securely call external services like the OpenAI API. They’re nice for adding small, intelligent features without building a whole new backend.
For this demo, let's add a button that generates a creative product description. First, ensure your OpenAI API key is saved as a secret in your Supabase project (in the “Edge Functions” tab).
Then, give Fusion a prompt like this one:
With that one prompt, Fusion writes and deploys the Supabase Edge Function, which securely handles the call to the OpenAI API. It then adds the button to your frontend and wires up the logic to call the function and display the AI-generated text.
A more professional version of this feature might generate and cache new descriptions when new products are added to the store, but this is great for demo purposes.
Connecting Supabase's remote MCP server with Fusion unlocks a powerful new workflow, letting you build full-stack, data-driven features with simple, natural language prompts.
Get started by setting up the connection in your Builder.io space to see what you can create. (And tag us on socials if you make anything cool!)