Visual drag-and-drop page building in Next.js (App Router, 2026 guide)
Updated on: May 7, 2026.
Short answer: Add a Next.js visual editor by installing @builder.io/sdk-react-nextjs, creating a catch-all app/[[...page]]/page.tsx route that calls fetchOneEntry, and pointing Builder.io's Preview URL at your local dev server. Once that's wired up, your marketing, design, and content teammates can drag-and-drop new pages on top of your Next.js app — no PRs required.
Wire Builder.io into your Next.js app once and your team ships landing pages, promos, and campaigns without ever opening a PR. Setup takes under 10 minutes.
→ Create your free Builder.io account — no credit card, works with the Next.js app you already have.
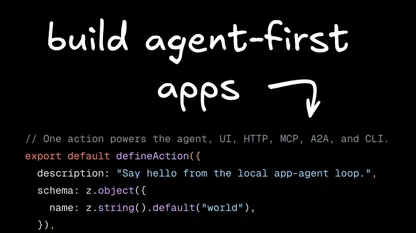
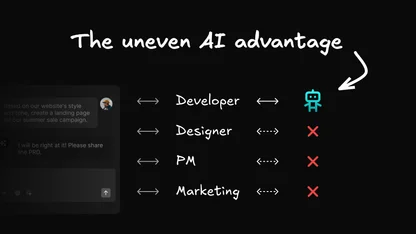
Engineering owns the framework. Everyone else owns the page. That handoff is where most Next.js sites get stuck — every landing page, every promo, every copy tweak ends up in a sprint.
A visual editor flips that. You ship the components and the guardrails; non-developers compose pages from your design system inside a drag-and-drop UI, then publish straight to your existing Next.js routes. You keep the App Router, the Server Components, and the type-safe data layer you already built. They get autonomy.
By the end of this tutorial you'll have:
- A fresh Next.js 15 App Router project running locally
- The Builder.io React SDK for Next.js installed and initialized
- A catch-all route at
app/[[...page]]/page.tsxthat renders any Builder page - A live Preview URL so the Builder Visual Editor opens your real site
- Your first drag-and-drop page, published from Builder and served by Next.js
- Node.js 18.18 or later (Node 20 LTS recommended)
- A free Builder.io account
- Familiarity with Next.js App Router basics
At the command line, scaffold a new App Router project with TypeScript:
Accept the defaults when prompted. Then change into the directory:
Open the project in your editor of choice.
For the App Router, install the React Server Component-friendly SDK:
This is the SDK Builder recommends for App Router projects — it's RSC-aware, ships almost no client-side JavaScript, and lets you register Server Components as custom Builder blocks.
Add your Builder Public API Key to .env.local:
You'll grab the actual key in Step 4.
Create app/[[...page]]/page.tsx. The double square brackets are how Next.js defines an optional catch-all dynamic route, so this single file renders every page you build in Builder — including /.
How it works (in 4 lines):
paramscarries the URL segments; we join them back into aurlPathBuilder can match.fetchOneEntryasks Builder for the page that targets that URL.isPreviewing(searchParams)keeps the editor working when there's no published content yet.<Content>renders the page server-side — no client JS unless your blocks need it.
- In your Builder space, press
Cmd/Ctrl + Kto open the Command Palette. - Type "API" to filter.
- Click your API key to copy it to the clipboard.
You can also find it under Account Settings → Space.
Paste the key into .env.local next to NEXT_PUBLIC_BUILDER_API_KEY, then start the dev server:
To open your site inside Builder's Visual Editor, you need to tell Builder where to find it.
- Go to /models and select the page model.
- Set Preview URL to
http://localhost:3000(include thehttp://). - Save.
For more on preview URLs (including production setups), see Editing and Previewing Your Site.
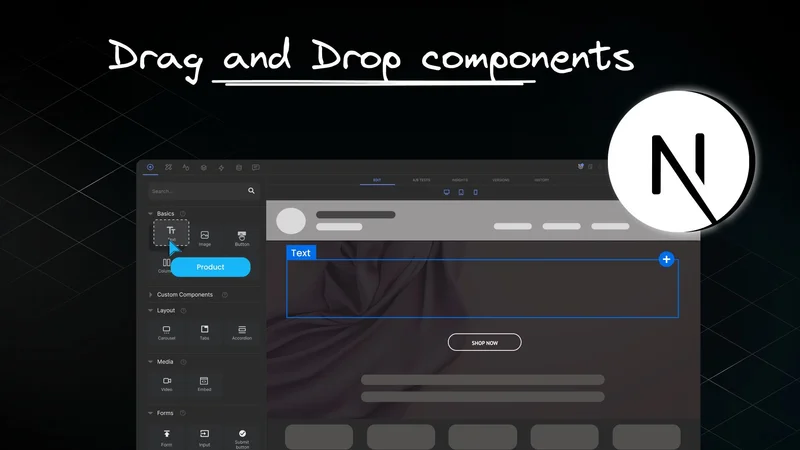
Now the fun part — building a page without writing code.
- Open the Content section in Builder.
- Click + New and choose Page.
- Name it
home, then set the URL to/. - Pick the blank template.
- Drag in a Text block and type something like "I shipped this without a deploy.".
- Click Publish.
Open http://localhost:3000. Your Builder page now renders through your Next.js App Router. Ship it.

The whole point of pairing Builder with Next.js is that your team builds with your design system, not around it. Register a component once and it shows up in the Visual Editor as a draggable block — with typed inputs.
Create components/Hero.tsx:
Register it in builder-registry.ts:
Pass them into <Content>:
Reload the editor. Hero is now in the Insert menu, with title and subtitle fields your team can edit visually.
Getting a 404?
- Confirm the page is published in Builder (not just saved as a draft).
- Double-check the URL slug. Builder lowercases and hyphenates names —
Test 2becomes/test-2. - Make sure the dev server is running on port 3000 and your browser allows insecure content for the preview frame.
- Verify
NEXT_PUBLIC_BUILDER_API_KEYis set and the value matches your space.
Editor shows "Content Not Found" when previewing a draft? That's isPreviewing(searchParams) not being threaded through. Make sure you're awaiting searchParams and passing the resolved object.
Stale content in production? App Router caches aggressively. Use revalidatePath('/') from a Builder webhook, or set export const revalidate = 60; on the page route.

You now have a Next.js visual editor wired into the App Router. From here, the highest-leverage move is registering more of your design system as Builder blocks — so every page your team builds inherits your brand, your accessibility, and your performance budget by default.
Two natural next steps:
- Register your component library: Use your React components in Builder to expose buttons, sections, and product cards as visual blocks.
- Bring in dynamic data: Wire Builder Data Bindings so non-developers can drop in live product, blog, or CMS data.
Start free on Builder.io and connect your Next.js app in under 10 minutes. No credit card, no migration — Builder lives on top of the routes you already have.
Which Builder.io SDK should I use with the Next.js App Router?
Use @builder.io/sdk-react-nextjs. It's the React Server Component-aware SDK built specifically for the App Router, ships almost zero client-side JavaScript, and is the only SDK that supports registering RSCs as custom Builder components.
Can I use Builder.io with the Next.js Pages Router?
Yes. The legacy @builder.io/react SDK still supports the Pages Router with getStaticProps and getStaticPaths. New projects should default to the App Router and @builder.io/sdk-react-nextjs.
Does the Next.js visual editor work with React Server Components?
It does. @builder.io/sdk-react-nextjs renders Builder content as RSCs by default. To register your own Server Component as a Builder block, set isRSC: true in its registration entry.
Can non-developers really publish pages to a Next.js site without a deploy?
Yes. Once the catch-all route in app/[[...page]]/page.tsx is in place, any page published in Builder is served by Next.js on the next request. Your team publishes; Next.js renders. No PR, no build trigger.
How do I avoid stale content on a statically generated Next.js page?
Combine Next.js on-demand revalidation with a Builder webhook that calls revalidatePath() whenever content changes. For lower-traffic routes, a time-based revalidate export is usually enough.
Can I keep my existing design system inside Builder?
That's the recommended setup. Register your React components (and their typed inputs) with Builder so editors compose pages from your design system instead of generic blocks. You keep brand and accessibility guarantees; they get autonomy.