Have you ever wished you had a shell wizard by your side to help you remember commands and flags? The terminal can be a powerful tool, but even with years of experience, most of us need to turn to web searches or manual pages for help. But what if you could just ask for help in plain English? Well, now you can! Introducing GitHub Copilot CLI.
With natural language processing and contextual awareness, GitHub Copilot CLI can translate your requests into shell commands, Git commands, or GitHub CLI commands, so you can bypass the need for memorizing arcane commands and flags. Whether you're looking to optimize your workflow or you're just getting started with the terminal, GitHub Copilot CLI can help you get things done faster and more efficiently.
In this post, we'll take a first look at the GitHub Copilot CLI, including its installation process, features, and tips for getting the most out of this revolutionary tool.
Before we dive into the CLI itself, let's go over the installation process. To use GitHub Copilot CLI, you must first have access to GitHub Copilot. You then need to then sign up on the GitHub Copilot CLI waitlist.
Once you have access, install GitHub Copilot CLI globally on your machine using npm:
This adds the github-copilot-cli command to your PATH. To authenticate with GitHub, run the following command:
Follow the on-screen instructions to authenticate. Once authenticated, the token is stored on your machine and used for future requests, so this command only rarely needs to be run.
You can run GitHub Copilot CLI directly using github-copilot-cli, but it is recommended to setup alias convenience commands. To install them, run the following command
This adds more convenient commands to your shell, but only for the current session. To make them available in all future sessions, you should add the above command on a line by itself to the bottom of your .zshrc, .bashrc or equivalent.
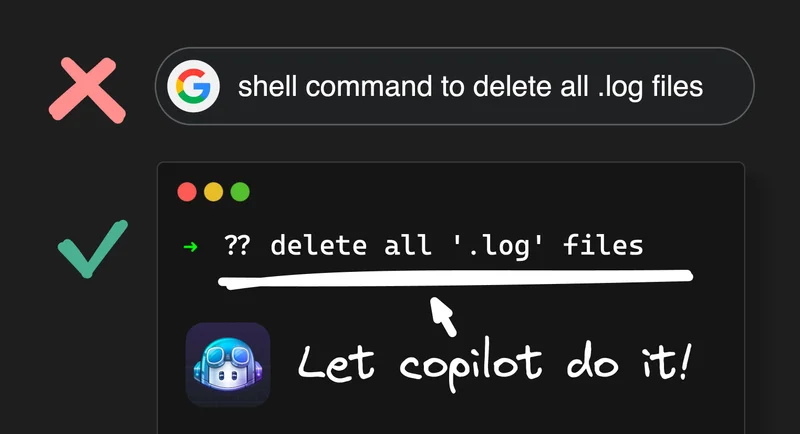
GitHub Copilot CLI provides three shell commands: ??, git? and gh?. Let's check them out.
For example, you could write ?? delete all files with the extension '.log' in the 'logs' folder and GitHub Copilot CLI will suggest the following command: rm logs/*.log.
GitHub Copilot CLI will also explain piece-by-piece what the suggested command does. This is important when you're learning new commands or flags.
For example, you could write git? change to a new branch 'feat/react-server-components' with current changes and GitHub Copilot CLI will suggest the following command: git switch -c feat/react-server-components.
For example, you could write gh? list all pull requests for the repository builderio/qwik and GitHub Copilot CLI will suggest the following command: gh pr list -R builderio/qwik.
All three modes of GitHub Copilot CLI work in the same way: you write a natural language query to declare what you want, and GitHub Copilot CLI suggests a command or sequence of commands to do it. If you're happy with the suggested command, just ask GitHub Copilot CLI to run it for you.
If the suggested command is not what you wanted, you can revise your query and ask GitHub Copilot CLI to generate a new command. This workflow can be used for different purposes:
- GitHub Copilot CLI misunderstood your initial query, and a revision can put it back on track.
- The suggestion applies to a different platform than yours. Use a revision to state your platform requirements.
- Start with a simple query and iteratively make it more complex. This tends to work better than writing all the details in the first query.
- GitHub Copilot CLI may suggest placeholder names in the initial suggestion. You can use revise to replace them with the actual names you want to use.
For example, running ?? collect test coverage reports for .tsx files in the src folder will output the command jest --coverage --collectCoverageFrom="src/**/*.tsx". We can select the Revise query option and input Use Vitest instead of Jest. This regenerates the command as per your requirement.
GitHub Copilot CLI is a promising tool that can help you save time and reduce the cognitive burden of remembering specific command structures. With its support for multiple domains, natural language processing, and breakdown of suggested commands, it can be especially helpful when learning new commands or flags.
As a technical preview, GitHub Copilot CLI has some rough corners and poorly supported platforms, but the GitHub team is actively working to improve it. If you are interested in trying out GitHub Copilot CLI, sign up for the waitlist to get access.